Warning: Use the Google Chrome browser. Other modern browsers may work, but have not been tested.
Table of contents
- Hour of the competition – scoring photos
- Night of the competition – room setup
- Day of the competition – before your arrive
- Week of the competition – resolving user issues
Hour of the competition – scoring photos
The basic competition workflow is:
- Click here for the current URL
- Choose which competition
- For each category
- Run-through – automatically shows each photo for a couple seconds
- Score Photos – view each photo, wait for the judges to score the photo, move to next photo
- Resolve Ties – if there are any ties, choose the winning photo
- Show Winners – show the winners from third place to first place
Choosing the competition
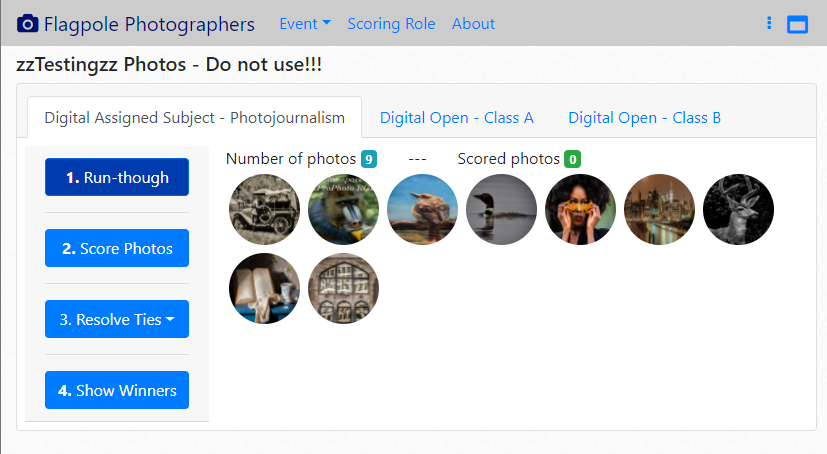
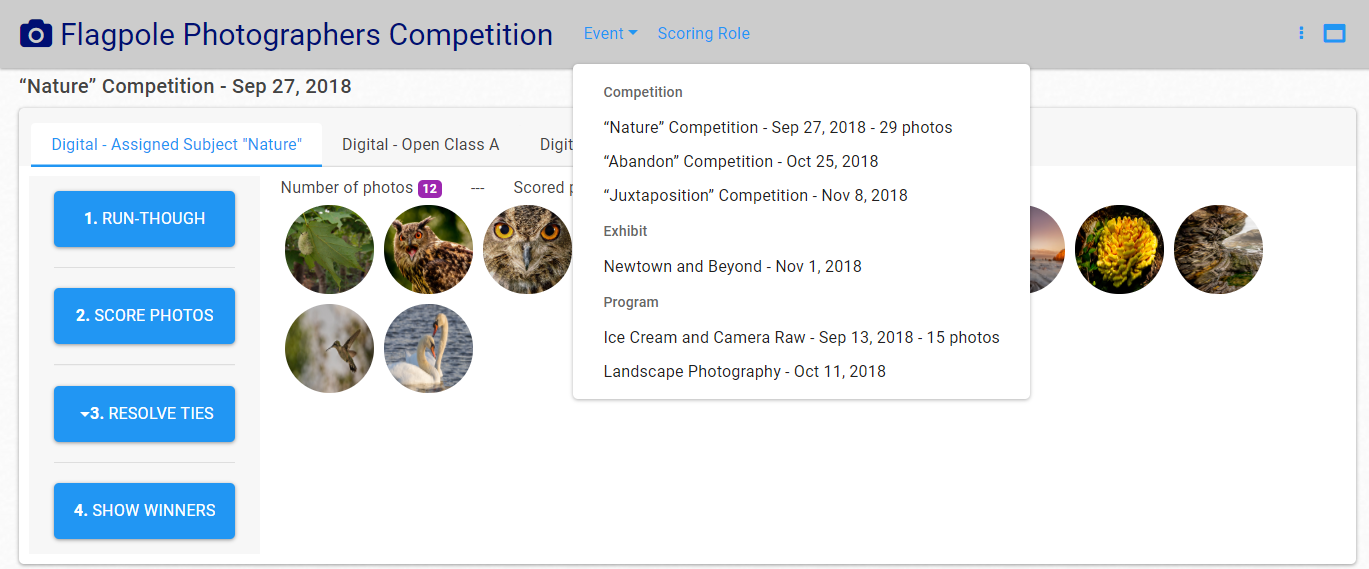
At the top of the window click on “Event”, then click on the competition to present. Over the next few seconds, you will see various tabs appear for each judging category. Generally, the categories are: “<name of assigned subject>”, “Digital Open A” and “Digital Open B”. Inside each tab, you will see circular icons of every photo. The slower your internet connection, the longer it takes for all photo icons to appear.
Note: at the start of the night, the “Scored photos” count should be zero. If the count is not zero, see Deleting Scores.
Note: Use full screen mode for best experience. In the upper right menu/toolbar area click on the last icon to access the ‘Toggle Full Screen’ full screen mode. When in Full Screen mode, again the last icon on the toolbar is now used to toggle out of (turn off) Full Screen mode. Also, F11 can be used to toggle full screen mode.
Choosing the category
Click on the category name. Not much more to say.
Scoring digital photos
Before you start scoring the first category, show the judges how to use the scoring tablet. Simply ask them to press a key and notice that at the bottom of the screen an acknowledge message is displayed. For example, “Score 6½ submitted”. They can try this as many times as they want to get a feel of the keypad. If the word “submitted” is added at the end when the score has been successfully sent. That is, it has moved from the scoring tablet to the internet server. The internet server then forwards the score to the competition web application.
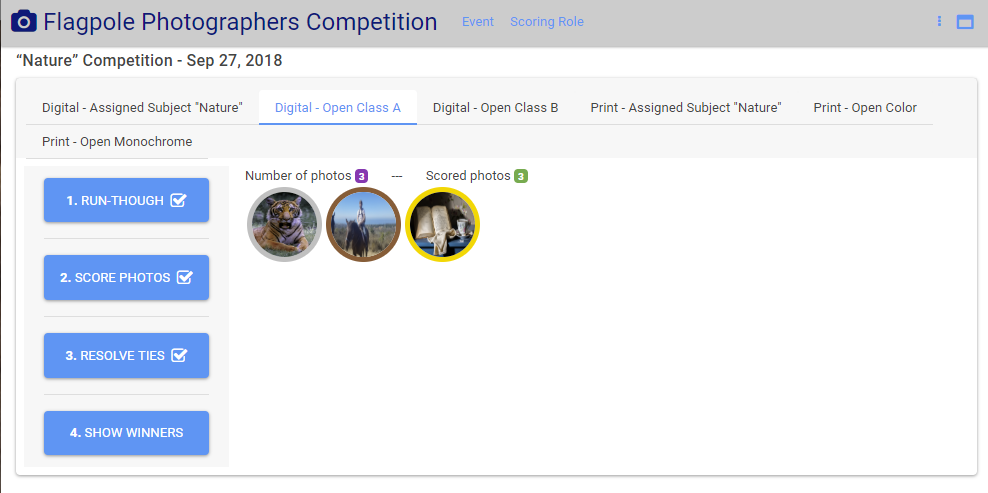
For each category, let the column of buttons on the left-hand side guide your workflow.
1. Run-through
- Announce to the room that you are about to start the run-through of category <name of category>
- Click on the “1. Run-through” button
- Move the cursor off of the screen
- Wait for the slide show to finish, that’s all!
2. Score Photos
- Announce to the room that you are about to start scoring category <name of category>
- Click on the “2. Score Photos” button
- Move the cursor off of the screen
- Announce the title of the photo. It will be displayed at the bottom of the screen for a couple seconds
- Wait for all judges to enter their scores. Watch the small indicator in the lower left hand corner. When the first score arrives, the indicator becomes visible. White indicates waiting for that judge to enter a score. Blue indicates that a specific judge has entered a score. The indicator for judge #1 is at the top. The indicator allows you to call on a specific judge to reenter their score if something goes wrong.
- Announce the score of the photo. It will be displayed at the bottom of the screen for a couple seconds
- Move to the next photo by pressing a Right Arrow or Space Bar
- Repeat above until end of photos
- You are at the end of the photos when move to the “next” photo returns you to the main screen. You can also return to the main screen at any time by clicking outside the photo or click the X in upper right photo area.
Note: this is not the “close browser X”, this is the “close photo application X”
Leverage the check-marks on the right side of the steps. When a step is complete the check-mark appears. If at the end of scoring and there are no ties, the check-mark on “Resolve Ties” automatically appears to indicate you can skip tie breaking and click “Show Winners”
3. Resolve Ties
- Announce that you are checking if there are any ties to break
- Click on the “3. Resolve Ties”
- Announce whatever is displayed, which will be items like
- Resolve third place tie, or
- Resolve second place tie, or
- No ties to resolve, …
- It is possible that there may be multiple ties, that is a tie for third and a tie for first, which means you may have to run through the tie breaking process twice
- Select the resolve ties submenu
- A window will appear that shows the tied photos
- Announce the first sentence in the upper left of the window, plus say that you can show any photo larger or discard photos if that helps the judges
- To view of photo larger, click on the four arrow (maximize) icon in the lower left area of the photo thumbnail. To return to thumbnail view, click the X in the upper left area of the photo window or press Esc
- To remove a photo, click on the trash can (delete) icon in the lower left area of the photo thumbnail. The trash can icon will only be visible if photos can be removed. For example, if there is a 2-way tie for second place, there is no trash can icon since one photo will be for second place and one photo for third place.
- You must move the “better” photo to the left side of the screen, press and drag as needed. If you are having problems moving photos from the right to the left, try moving the “worse” photo to the right. Or, on third place ties, simply click the trash can icon on the “worse” photos.
- Click the lower right Close button or the upper right X in the photo window
4. Show Winners
- Announce that you are showing the winners
- Click on the “4. Show Winners”
- Announce third place winner. Photographers name will be displayed at the bottom of the screen for a several seconds
- Move to the next photo by pressing a Right Arrow or Space Bar
- Announce second place winner. Photographers name will be displayed at the bottom of the screen for a several seconds
- Move to the next photo by pressing a Right Arrow or Space Bar
- Announce first place winner. Photographers name will be displayed at the bottom of the screen for a several seconds
- You are at the end of the winners, when trying to advance jiggles the photo, but does not display another photo. Click outside a photo, or click the X in upper right photo area.
Scoring print photos
At the top of the window click on “Select scoring role”, then click on Scorekeeper. Then click on Start when ready to start scoring printed photos. For example, after the manual run-through.
Troubleshooting: if something goes wrong, click on Reset or use F5 to reset the browser. Then wait 15 seconds before judges enter any scores.
Night of the competition – room setup
Judge Table
Equipment: Three scoring tablets (which are Amazon Fire 7″ tablets). On a rectangle table.
To help a judge during the competition it is important to know the judge’s tablet number. Each tablet has a number on the bottom. Arrange the tablets in sequential order on the judges table.
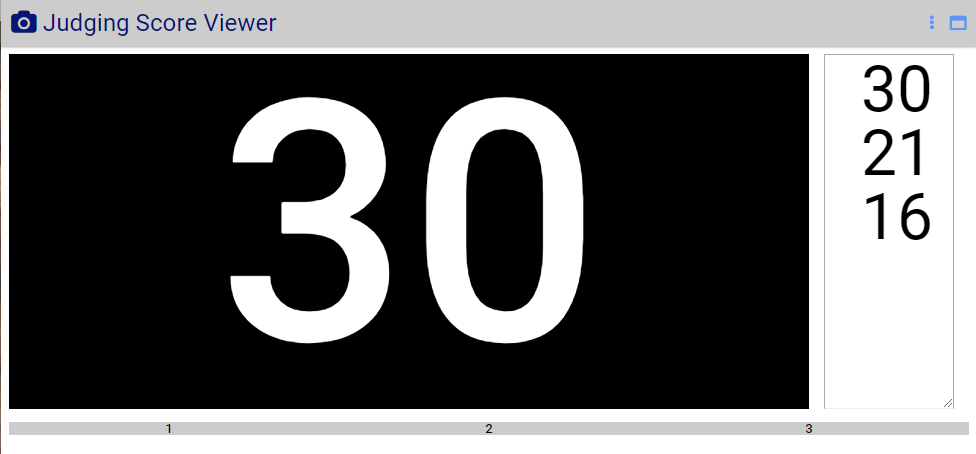
Optional: Watch scoring on a modern web device using https://flagpolephotographers.com/photocomp/scoreviewer/scoreviewer.html
Recommendation: For prints have this running on a device that allows the person recording the score on the back of the photo to clearing see the score.
Main area is last photo scored. Right is a list of the last few photos scored. Bottom are indicators of which judge has pressed a key. Main area is cleared when the next photo starts being scored.
Tablet Setup
These tablets are similar to your mobile phone. There are no cables to connect to the tablets, they will run all night, with the screen always on, without needing charged.
- To turn them on, press and hold the power button for a couple seconds.
- Unlock them by swiping up on the lock icon. Note, Amazon Fire tablets have ads on the lock screen and a few other places. These ads will not be visible once the scoring web application is running.
- Press the home icon, this is the circle icon in the bottom center of the screen. At this point, the screen background has directions on the next steps.
- Make sure the tablet has Wi-Fi access. Click on the “Check network” icon. This is a link to FlagpolePhotographers.com. However, at the Senior Center, a page will appear from Newtown that requires you to acknowledge access to the internet. Click on Accept, OK – whatever is displayed.
- Newtown citywide password is “
nicernewtown “
- Newtown citywide password is “
- Click tablet home circle icon in the bottom center of the screen
- Click the Judge Scorepad icon
- Maximize the scorepad app. Click on the upper right toolbar maximize icon. This is very important because it hides the tablet buttons so the judges don’t accidentally leave the scorepad.
- Click on
a some keys and look for “submitted” messages. If “submitted” does not appear then the Wi-Fi connection is not working.
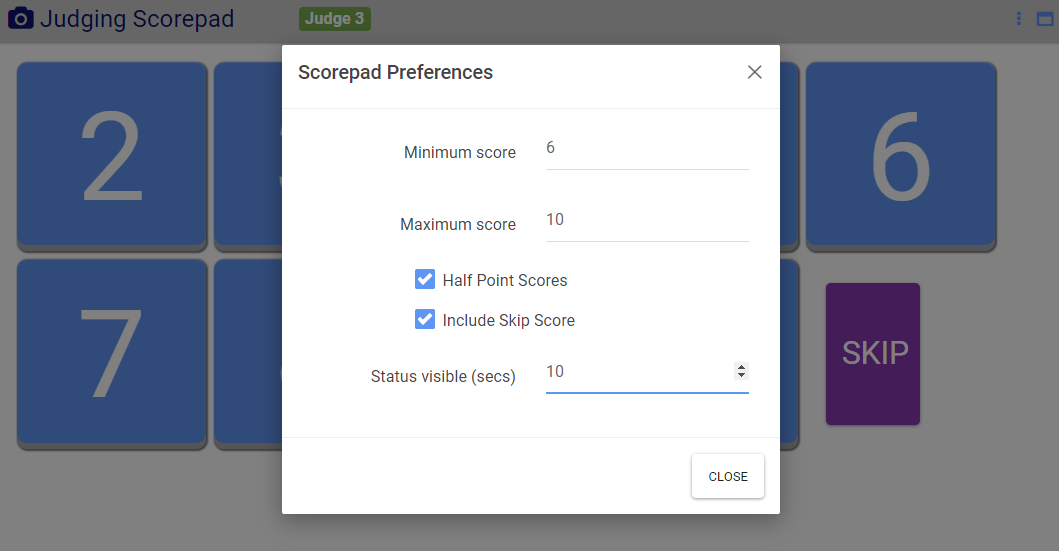
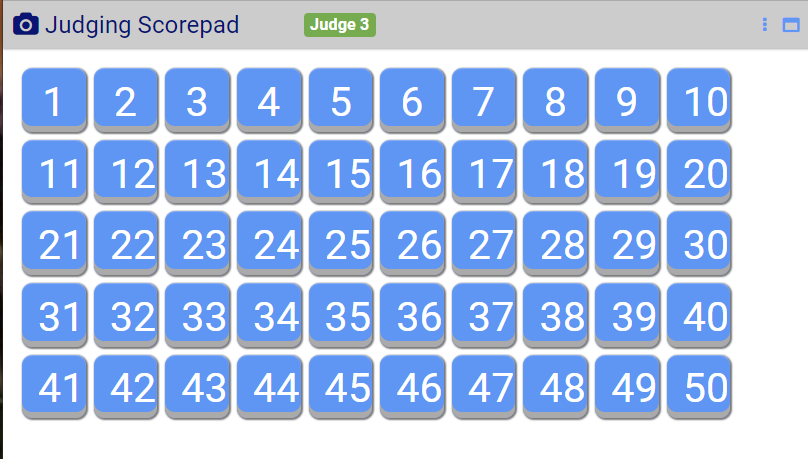
Warning! If the Scorepad app is not displaying the appropriate keys for the competition click on the 3 vertical ellipses vertical menu to choose the correct keypad setting.
Here is the normal Flagpole Photographers settings, 6 to 10, with half points and an option to skip.
Note: The Judge Scorepad URLs are listed bellow. They work with most devices. That is, if a tablet dies, use a mobile phone.
- https://flagpolephotographers.com/photocomp/scorepad/scorepad.html?id=1
- https://flagpolephotographers.com/photocomp/scorepad/scorepad.html?id=2
- https://flagpolephotographers.com/photocomp/scorepad/scorepad.html?id=3
Score viewer app for print competition.
This is for the unnumbered tablet. This table just has the generic Amazon Fire software. 1) Start the browser “Amazon Silk” 2) Go to any page to initiate connection to network (details above) 3) Go to
https://flagpolephotographers.com/photocomp/scoreviewer/scoreviewer.html
For those nights where they are too many ties 🙂
Projector Setup
This does not cover all of the nuances of the setup, it covers the main parts.
Equipment: projector, projector power cable, HDMI cable, rolling black cart, empty plastic bin, plug strip
The projector setup will be about 5 feet behind the Judge Table. The black cart is not tall enough for the projector to be above the judges heads. This, place the empty plastic bin upside down on top of the cart. Then, the projector on top of the bin. Place the projector near the front of the plastic bin to maximize the distance between the judges and the cart.
Use the builtin extension cable to plugin to the power outlet on the pillar behind and to the left of the cart. Place the card directly, and squarely, in front of the screen. The distance from the screen is around a dozen feet. Using the zoom on the projector lens, plus moving the card forward and back completely fill the screen.
Plug in the loose plug strip sitting on the cart into the builtin plug strip attached to the cart. This is required because there is not enough room to plug everything into the builtin plug strip. Plug in the projector to the loose plug strip. Attach the HTML cable to the PC.
PC Setup
Any PC may be used. There is no software on the PC, only a modern web browser is used. Google Chrome web browser should be used.
Plug in the PC to the cart. Our 8 year old PC has a battery life of 5 minutes. It must be plugged in.
Connect the PC to the projector using the HDMI cable. On Windows, if needed, press Windows Key + P to choose what to show on the projector screen. Easiest is “Second Screen Only”.
Login to FlagpolePhotographers.com, then go to https://flagpolephotographers.com/competition, then follow the directions.
Day of the competition
- Bring a printed copy of the scoresheets for each digital category
- Bring all of the equipment – PC, judging tablets, projector and cables.
Day before of the competition
- Fully charge the judging tablets, this takes at least 3 hours.
- Optional, but handy. Print a copy of the scoresheets.
- Start the competition software, https://flagpolephotographers.com/competition.In the toolbar, near the right-hand side, click the 3 vertical dots, choose
Shoresheets …, scroll to the bottom, click Print. A new window/tab appears in your browser and normal browser Print dialog should appear. Like magic, they will print on 3 pieces of paper
- Start the competition software, https://flagpolephotographers.com/competition.In the toolbar, near the right-hand side, click the 3 vertical dots, choose
- The printed scoresheets are handy for the announcer to be able to read the title. They also serve as a backup if anything goes wrong.
- If the scoring system completely fails, there are printed
score cards for the judges to use in the projector carrying bag.
Week of the competition – resolving user issues
- Deal with errors (wrong color space) and warnings (especially resolution too low and photo taken over 2 years ago).
- Deal with questions
- Send reminder email at least 72 hours before deadline


